


Begin a new article by choosing ARTICLES from the side menu (displays all articles by most recent date/default). Choose NEW green button. This tutorial article should help you build your own. Start with the first 2 or three sentences of the article.
The system will display a finite number of characters as an 'intro' on the homepage, etc. Do not include ellipses to indicate 'more story'. The system will do this if the character count exceeds the limit. After your intro sentences, click Read More (bottom row) from the WYSIWYG menu to end your 'intro'. A red dashed line appears (as shown above). Only one READ MORE is used per article. The image below shows the most-used buttons from the WYSIWYG menu.
VERY IMPORTANT for INTRO/LEDE image, be sure to name these all lower-case, no spaces (use hyphen or underscore). Or else they won't show on the home page.

By default, your intro text will be INCLUDED when the whole story is displayed. Don't repeat it below the read-more line. Do not apply too much styling (bold or italic is ok), change font sizing or apply additional header tags to your article text. Insert hyperlinks using the link icon in the WYSIWYG menu (like MS Word, highlight text/insert link).
Be sure to SAVE as you go (green button at the TOP of page) in case of internet failure or accidental closing of window.
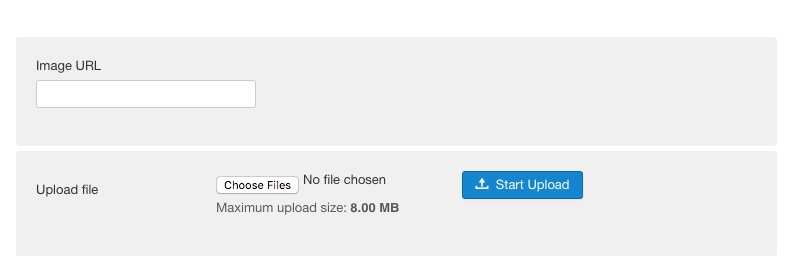
Scroll down the pop-up window to see the UPLOAD dialog, be sure to select the folder you want to upload to BEFORE uploading. Browse your hard drive to select file to upload. Optimum image size is 800x600 for LEDE image. 800 width is good for inline images, these do not have to be limited to 600. Also add image description here for SEO purposes. Add meta description/keywords as desired (a cumbersome task I gave up on). FOR IMAGES TO SHOW UP IN THE CAROUSEL best result, make file names all lowercase and remove spaces or odd characters. Hyphens, underscores are ok, EXAMPLE, ‘THE SHOW This email address is being protected from spambots. You need JavaScript enabled to view it.’ works better as ‘the-show-image-at-whatever.jpg’. Also CMYK images do not work/display.
LEDE image which shows on the homepage (called INTRO image for the truncated synopsis on homepage) is selected/placed by choosing the TAB for IMAGES and LINKS above the editor menu. *The LEDE image does not show in the story editor, but is placed by selecting the 2nd Tab above menu for Images and Links. SEE BELOW.
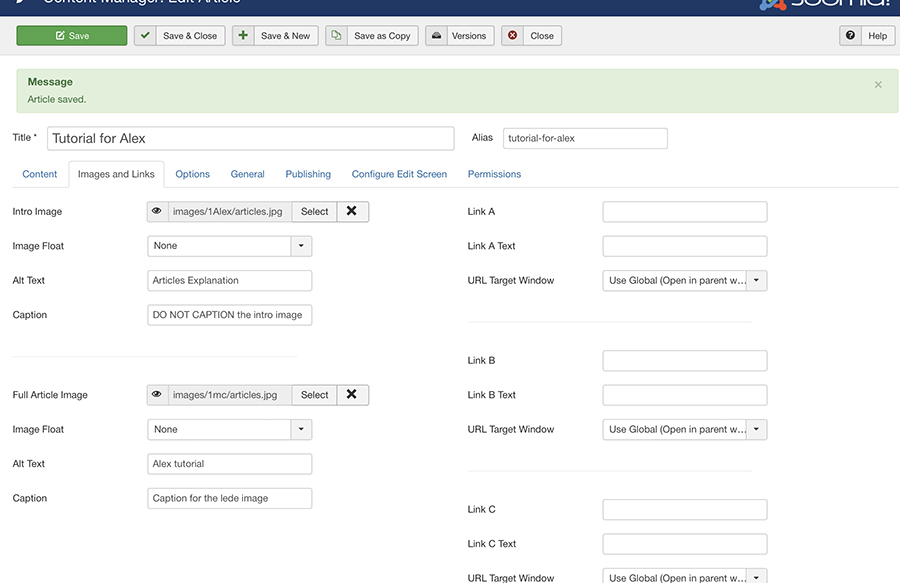
1. Browse to choose INTRO image from the desired folder, add alternate text, DO NOT CAPTION. FLOAT Position, None.
2. Choose Full article image (generally the same as intro), Choose NONE for float. Add alt text as desired for SEO. Add caption if appropriate, this is autostyled.
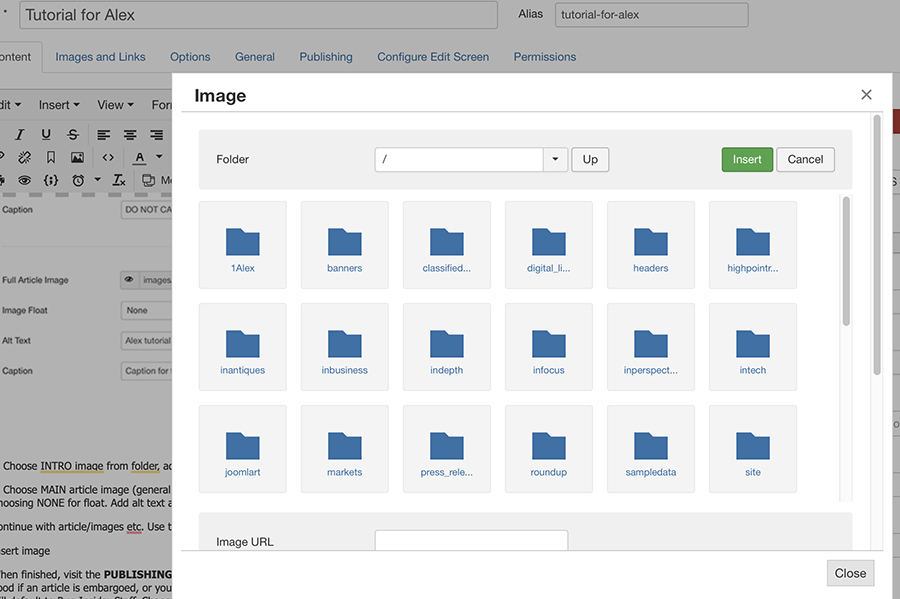
To insert a picture within the story, click on the IMAGE button from the WYSIWYG menu above. POPUP menu shown below will appear.
Continue with article/images etc.
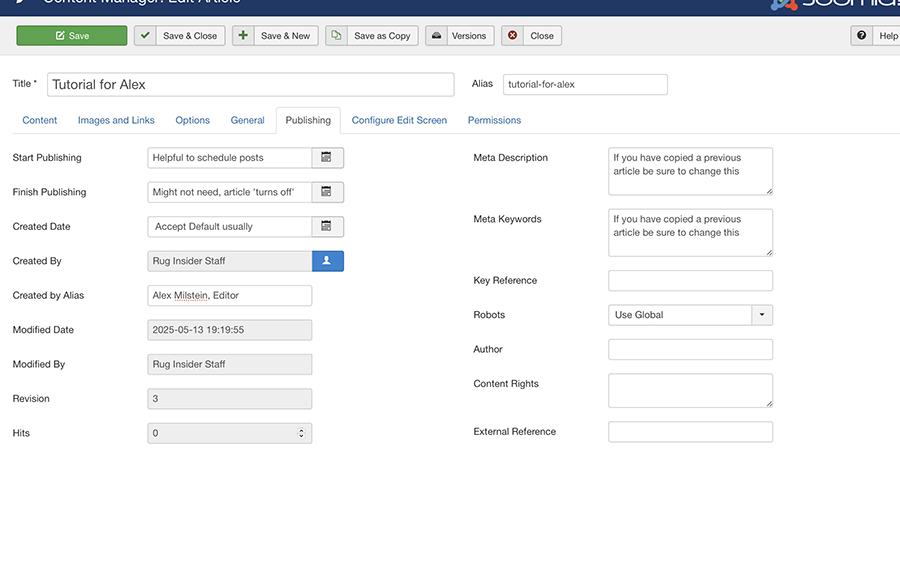
When finished, visit the PUBLISHING TAB (do not touch others). By default the story will publish with current date and have no expiry date. These options are good if an article is embargoed, or you are working in advance of being away, and want to set a start date to PUBLISH, or turn off automatically. The 'created by' will default to Rug Insider Staff. Choose the AUTHOR ALIAS from the dropdown menu, or enter a new one. This only applies if the article is supplied, or is taken from the magazine issue, ie. Alex Milstein, Contributing Editor.
Final to-do: be sure the STATUS items (on the right if you are using desktop/laptop, non-mobile device ) are set correctly.
- Status: PUBLISHED
- Category (for most of articles: Press Releases).
- Featured? NO.
- Access: public
- Language: All
- Set tags if desired. Enter or select from pre-existing. I didn't create the default list, there are typos. Ignore please. Once created, I believe they are added to the list.
SAVE AND CLOSE. Preview in browser and hastily unpublish if it looks like crap. Revise, republish.
In the WYSIWYG menu there is a dropdown menu for "VIEW>Preview". Selecting preview here will approximate live view, exclusive of the LEDE image.
